Equipment to be used:
- FMC 2600 with version 6.4.0.10
The objective is to upgrade the FMC in HA to version 6.6.4
Before you begin, I recommend that you read the official documentation on the Cisco site for further reference. This guide explains how to prepare for and complete a successful upgrade of a Firepower Management Center.
Go to “Planning your Upgrade”.
Upgrade Procedure
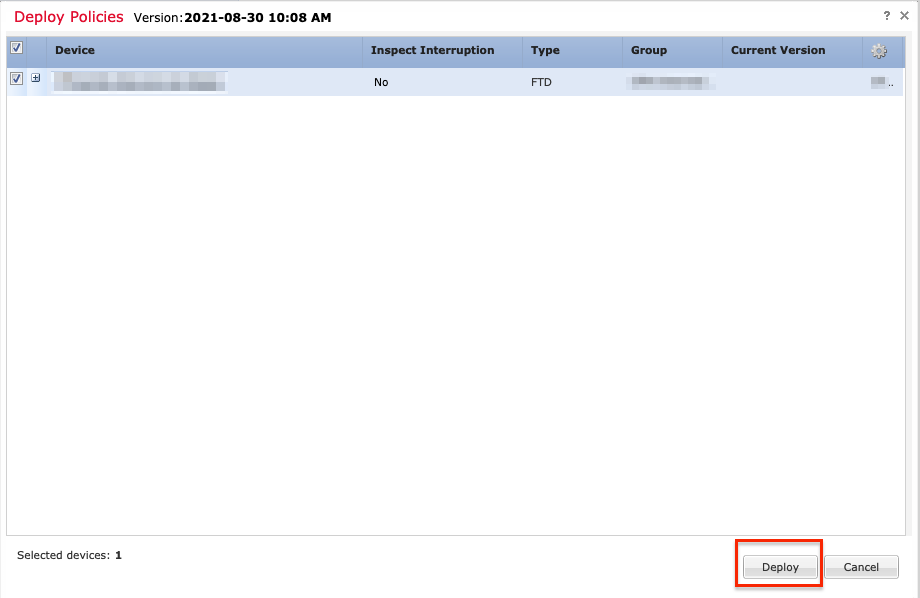
1.- Deploy configurations
Deploy > Select devices/changes > deploy
Make sure there are no pending updates for the sensor you are looking to upgrade. Deploy any available changes before starting the upgrade process.
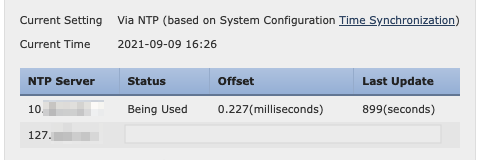
2 .- Verify correct synchronization with the NTP server.
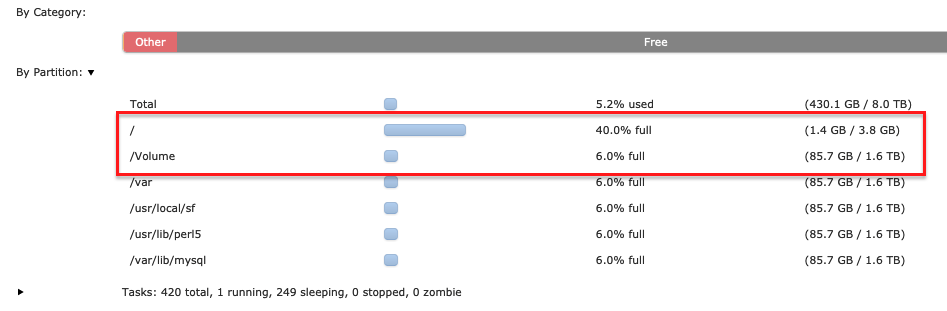
3 .- Check disk space
System -> Monitoring -> Statistics
It is essential to check the disk space to ensure that the minimum required is met. The FMC v6.6.4 requires 15.1 GB in /Volume and 23 MB in /.
For more information here
4.- Check upgrade path.
Validate if version 6.4.0.10 can be upgraded directly to 6.6.4. According to the documentation, if it is possible.

If the version you wish to upgrade is different from the one in this article, please visit the following link:
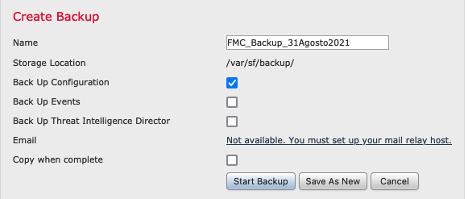
5.- Backup
System > Tools > Backup/Restore > Firepower Management backup > Backup configuration > Start backup
Perform configuration backup of the FMC

More information here
6.- Download upgrade file

Firepower software packages are available on the Cisco Support & Download site.
https://software.cisco.com/download/home/278875421
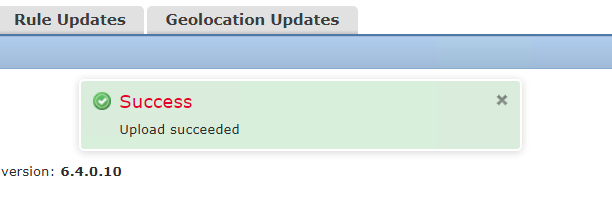
7.- Upload upgrade file to the FMCs
System > Updates > Upload update > Choose file > Upload
In FMC high availability deployments, you must upload the FMC upgrade package to both peers (Standby and active)

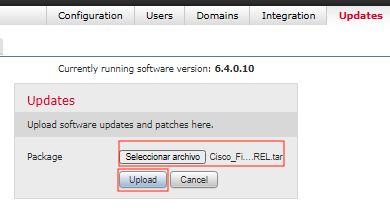
Note: Upload the file in both FMC
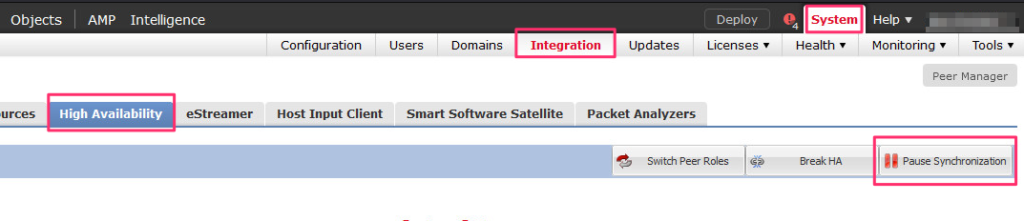
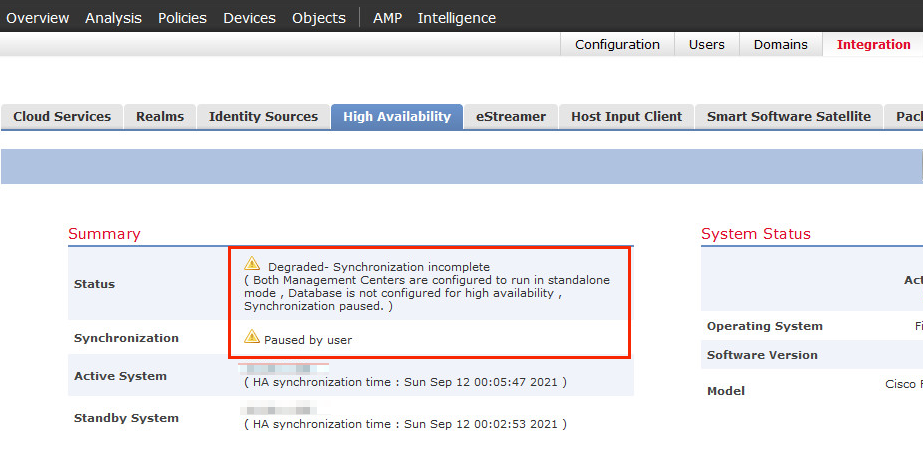
8.- Pause HA synchronization in FMC Active.
System > Integration > High availability > Pause synchronization
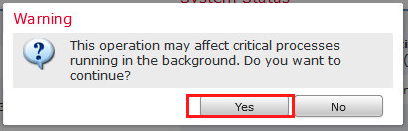
Click in Pause Syncronization
Click Yes
Click OK
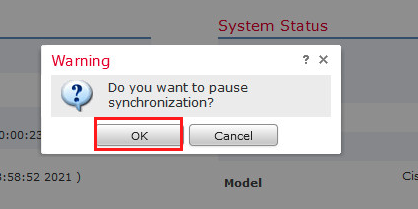
The message will be displayed:
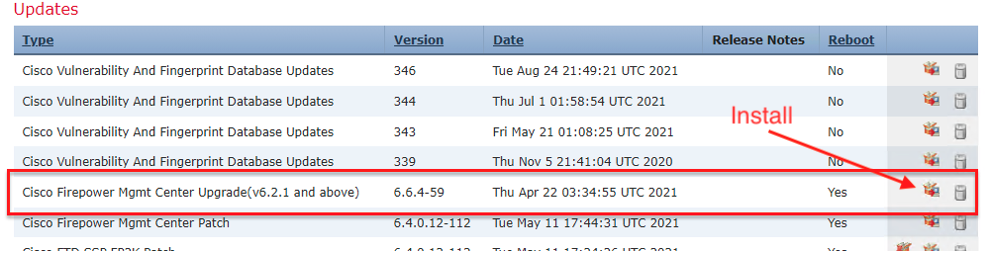
9.- Upgrade FMC Standby
We started the update in the FMC standby.
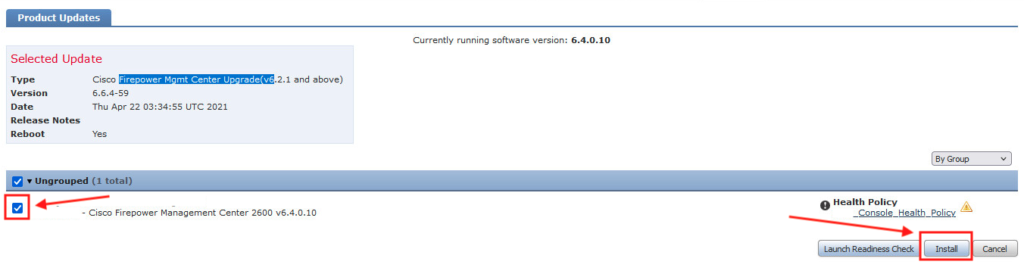
Locate the update file and click on Install.
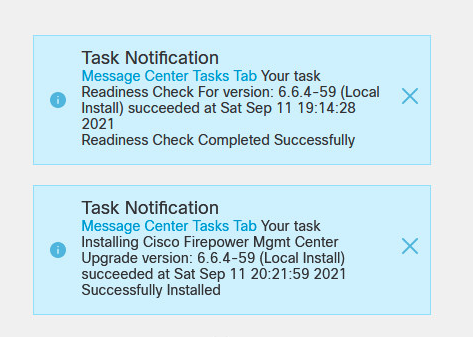
Prior to installation, run the readiness check to verify that everything is correct for the upgrade.
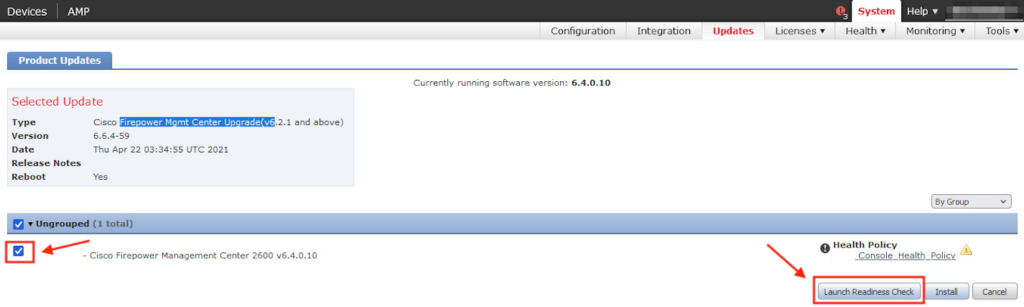
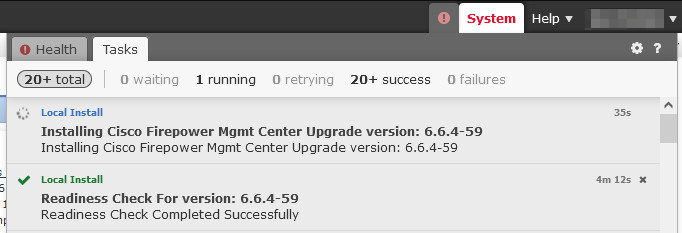
Wait for the Readiness Check to be completed:
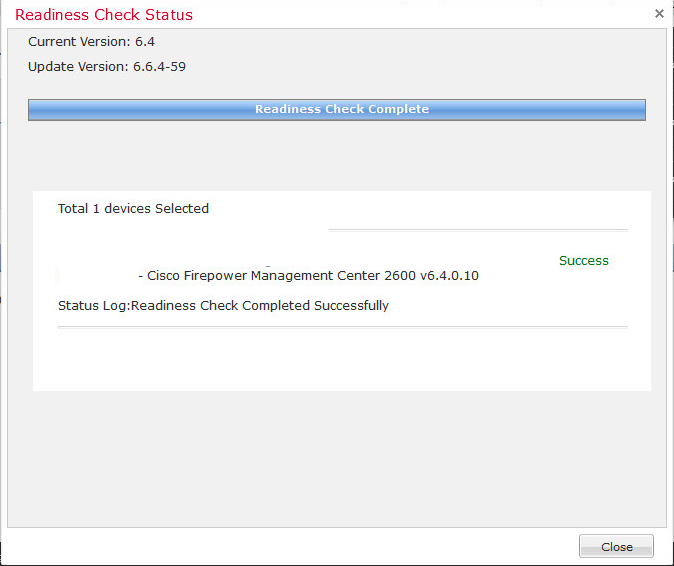
After success readiness check, go ahead with installation the upgrade:
The estimated time for the upgrade is 60 minutes and 28 minutes for the reboot (for each FMC).
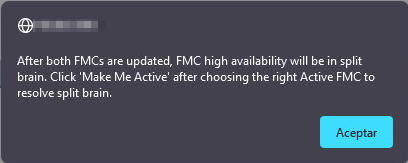
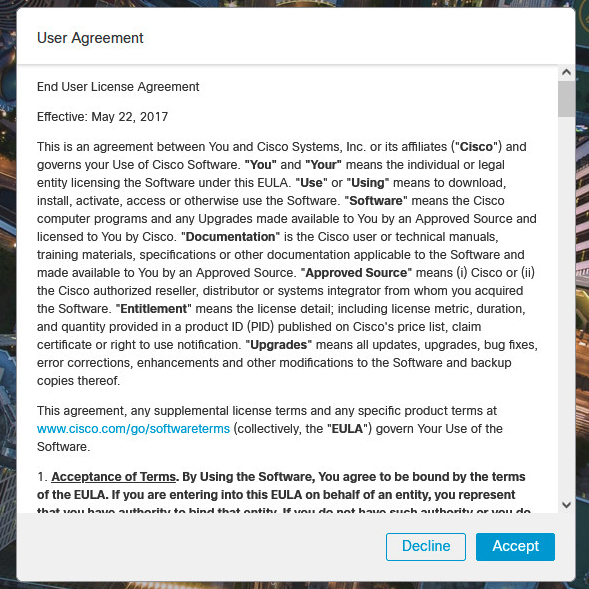
Click in Accept in the following notifications:

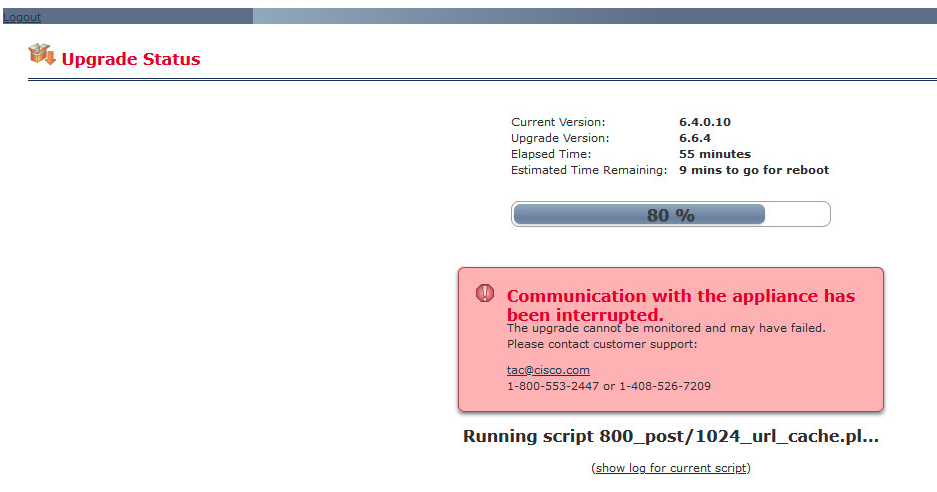
After restarting, log in again, and if prompted, review and accept the End User License Agreement (EULA).
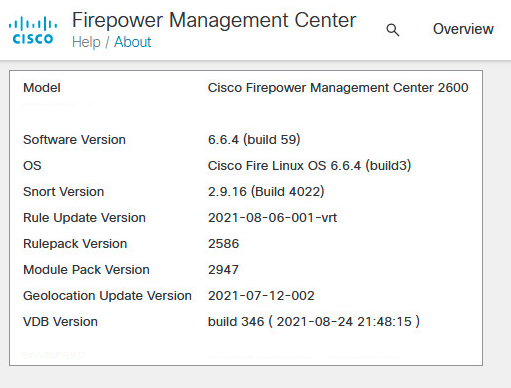
Validate version actual the FMC in Help > About:
10.- Upgrade FMC Active
Repeat all steps of point 9
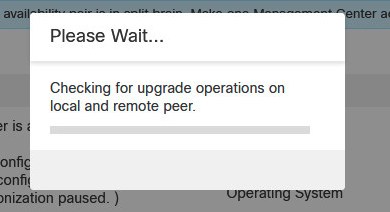
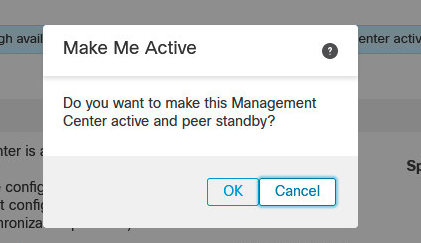
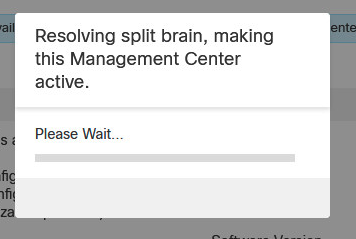
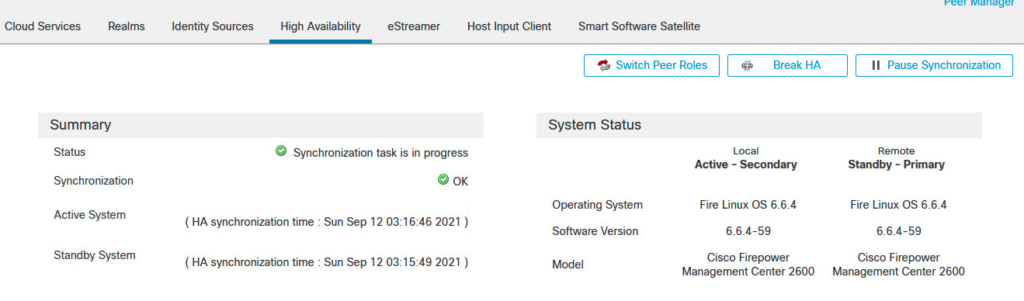
11.- Restart synchronization
Log into the FMC that you want to make the active peer.
Choose System > Integration.
On the High Availability tab, click Make-Me-Active. Wait until synchronization restarts and the other FMC switches to standby mode.

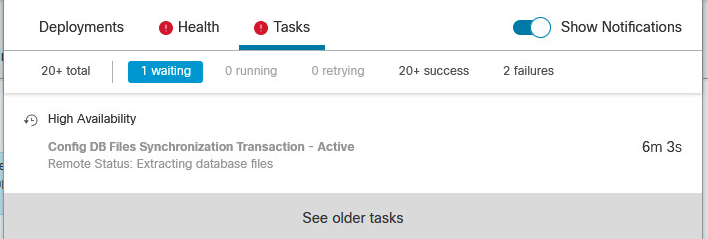
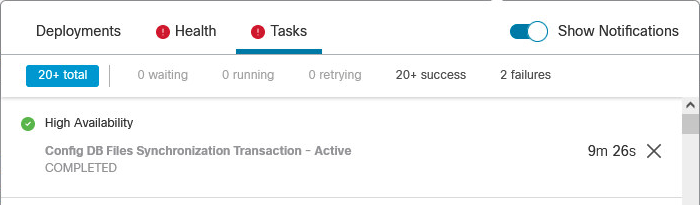
HA Full:
Finally, all that remains is to update SRUs, VDB and deploy the changes.
Regards!